Small human, big boat - some tips for outfitting your kayak.
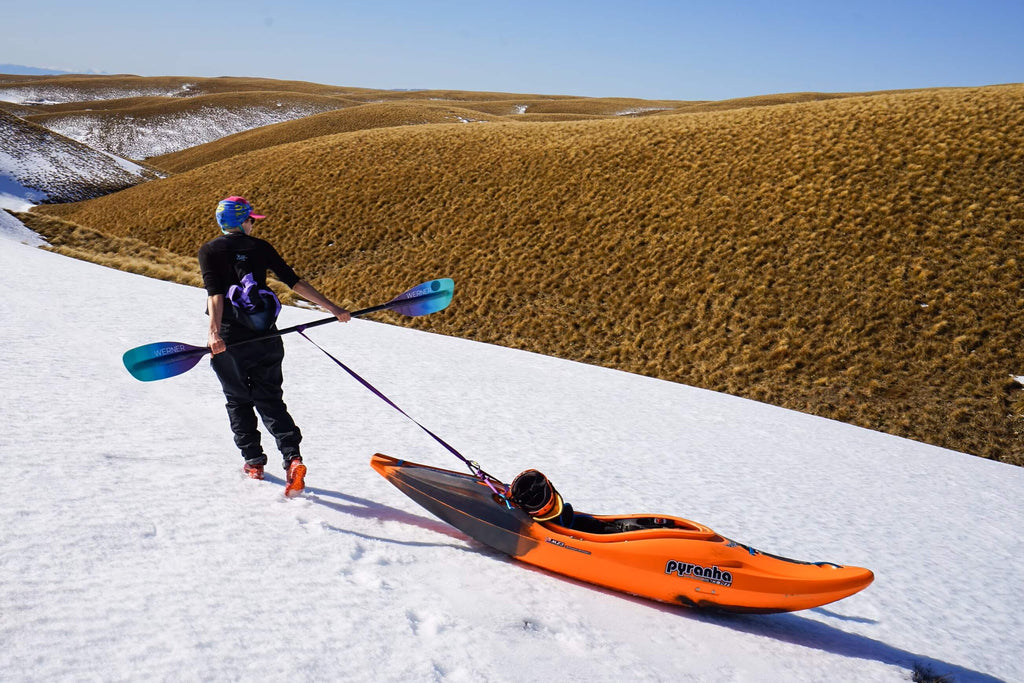
One thing I can’t stand is feeling loose in a kayak. Not loose as in sending it off big drops, but literally loose as in not snugly fitted into my boat.
Whether it’s footpegs too far back, knees not fully in contact with the sides (of the kayak) or a backband still slack after ratcheting it as far forward as possible, a poorly outfitted kayak instantly makes edging, boofing, and rolling much harder than it should be. It’s like skiing with boots two sizes too big, mountain biking with shoes that don’t grip the pedals, or tramping with a poor-fitting pack. While doable, it’s not ideal.
As a 5’5’’ (165cm) small-ish female, I’ve concluded that most creek boats have not been designed for people my size. While I fit well into “small” creek boats, I find them lacking enough volume, especially in harder whitewater or when carrying overnight gear. I feel more at home in “medium” or “standard-sized” creek boats. However, I’m always on the lowest end or under the recommended weight range, have to pull the footpegs as far forward as they will go, ratchet the backband all the way up, and still seem to wiggle around in my boat.
For a long time, I didn’t question the extra looseness and lack of precision I felt when paddling. It was only after jumping into other small humans’ well-outfitted boats and realising how much more manoeuvrability I gained once fully in contact and connected. It turns out that the foam that comes with a new kayak is actually super useful. Combined with a few other tricks, I’ve finally found the perfect fit.
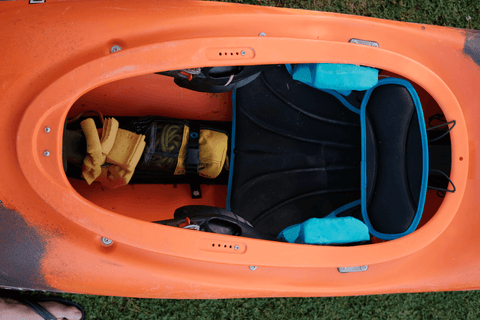
Here are some handy tips for outfitting a Pyranha Scorch (or any Pyranha kayak with Stout 2 outfitting). Many of them are portable to other kayak brands too, though the method of removing or changing outfitting might be a bit different.
1) Move the seat forward.
Materials required: 4 mm Allen key
Unscrew the two bolts on either side of the seat under the cockpit rim until the metal plate inside the boat comes free. Slide the seat forward and line it up with the bolt holes in the seat. Rescrew the bolts.
2) Move the thigh braces backward.
Materials required: 4 mm Allen key, 10 mm socket wrench
Unscrew the bolts in the holes on either side of the cockpit rim attached to the thigh braces with the Allen key. Remove the plastic caps on the bottom side of the bolts at the top and bottom end of the thigh braces. Secure each bolt nut with the socket wrench and loosen each bolt with the Allen key. Slide the thigh brace. Retighten the bolts and replace the bolt into the new hole.
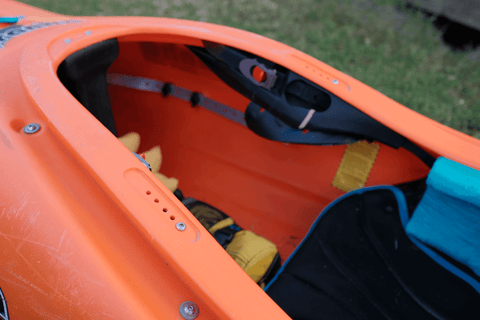
3) Add Pyranha’s hooker attachments to thigh braces.
Materials required: Pyranha Hooker TG Attachments, 4 mm Allen key, 10 mm socket wrench, screwdriver
Follow the steps for moving the thigh braces, but unscrew the bolts all the way, so the thigh brace comes fully detached. Unscrew the plastic bolts securing the standard thigh brace pads. Attach hooker attachments to the thigh braces through the threads with the 4 mm bolts provided. Leave the bolts loose so you can choose the aggressiveness of the hooker angle once back in the boat. Reattach the thigh braces. Tighten the hooker bolts after choosing the desired hooker angle.
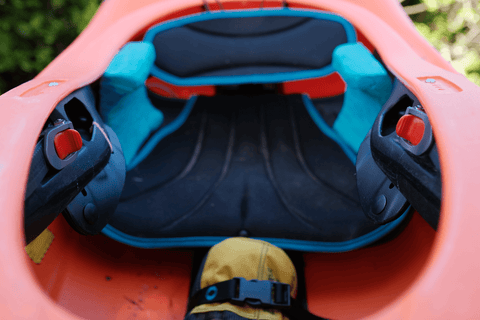
4) Add foam under the seat.
Materials required: thin sheets of closed cell foam (or a cheap camping mat), screwdriver
Unscrew the plastic bolts on the seat cover with a screwdriver. Cut foam sheets to fit under the seat cover. Optionally cut out and glue a wedge of foam onto the front middle of the seat (crotch area) for additional contact with the seat.
5) Add foam layers to thigh braces and knee area.
Materials required: thin sheets of closed-cell foam (or a cheap camping mat), contact adhesive
Cut foam to size and secure as additional padding under thigh braces where your knee rests on the side of the boat. Add more layers if needed.
6) Add a heel block to the footplate.
Materials required: block of closed cell foam (or a cheap foam yoga block), contact adhesive, serrated knife, sandpaper
Cut corners off the block with the knife. Sand any rough edges. Secure to footplate with contact adhesive. Add additional foam as necessary so your foot sits flat against the footrest.

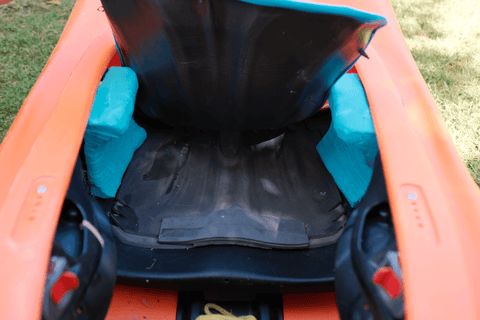
7) Customise your hip pads.
Materials required: Two blocks of closed cell foam (or two cheap foam yoga blocks), contact adhesive, serrated knife, sandpaper, cam strap
Remove stock hip pads. Cut out the general shape of the hip pad from a block. Use your hips as a guide to slowly shave down the blocks and test them in the boat. Once they feel good, sand any rough edges and glue them in with contact adhesive. Secure with a cam strap while the glue sets.

Happy paddling!
Do you have any other helpful outfitting tips? I’d love to hear about them! Flick me a message on Instagram @ellorine.
How to outfit your kayak to fit you better in 7 steps:
- Move the seat forward.
- Move the thigh braces backwards.
- Add the Pyranha hooker attachment to thigh braces.
- Add foam under the seat.
- Add foam layers to thigh braces and knee area.
- Add a heel block to the footplate.
- Customise your hip pads.


Leave a comment